Automotive electrical systems are frequently cited as the most frustrating aspect of car restoration. Unseen shorts, parasitic drains, and brittle, 50-year-old insulation can turn a beautiful classic into a stationary piece of garage art. Conquering the wiring harness requires logical troubleshooting, clean connections, and a basic understanding of Ohm's Law.
The Case for Complete Replacement
While it is tempting to patch an original wiring harness, decades of heat cycles, oil saturation, and previous owners' questionable modifications (often involving wire nuts and electrical tape) compromise the system. Replacing the entire harness with a modern aftermarket kit is the safest, most reliable route. Modern kits utilize cross-linked polyethylene (TXL) wire, which resists heat and abrasion far better than vintage PVC insulation.
New harnesses also replace antiquated glass fuses with modern automotive blade fuses (ATO/ATC), dramatically improving safety and making replacement parts available at any gas station.
Grounds: The Root of All Evil
Over 80% of automotive electrical issues trace back to poor grounds. The vehicle's steel body and frame act as the return path for electrical current back to the battery. Paint, rust, and dirt are excellent insulators.
- Star Washers: When establishing a ground point, always grind away paint down to bare metal. Use a star washer to bite into the steel, ensuring a strong mechanical and electrical connection.
- Engine to Chassis: Rubber engine mounts isolate the engine block electrically. Always install a heavy-gauge braided ground strap spanning from the engine block directly to the chassis/frame.
Crimping vs. Soldering
A fierce debate exists in the restoration community regarding connections. While soldering creates a highly conductive bond, it makes the wire rigid. In the high-vibration environment of an automobile, the rigid wire can break just past the solder joint. Professional automotive harnesses utilize high-quality, open-barrel uninsulated crimps covered by heat shrink tubing.
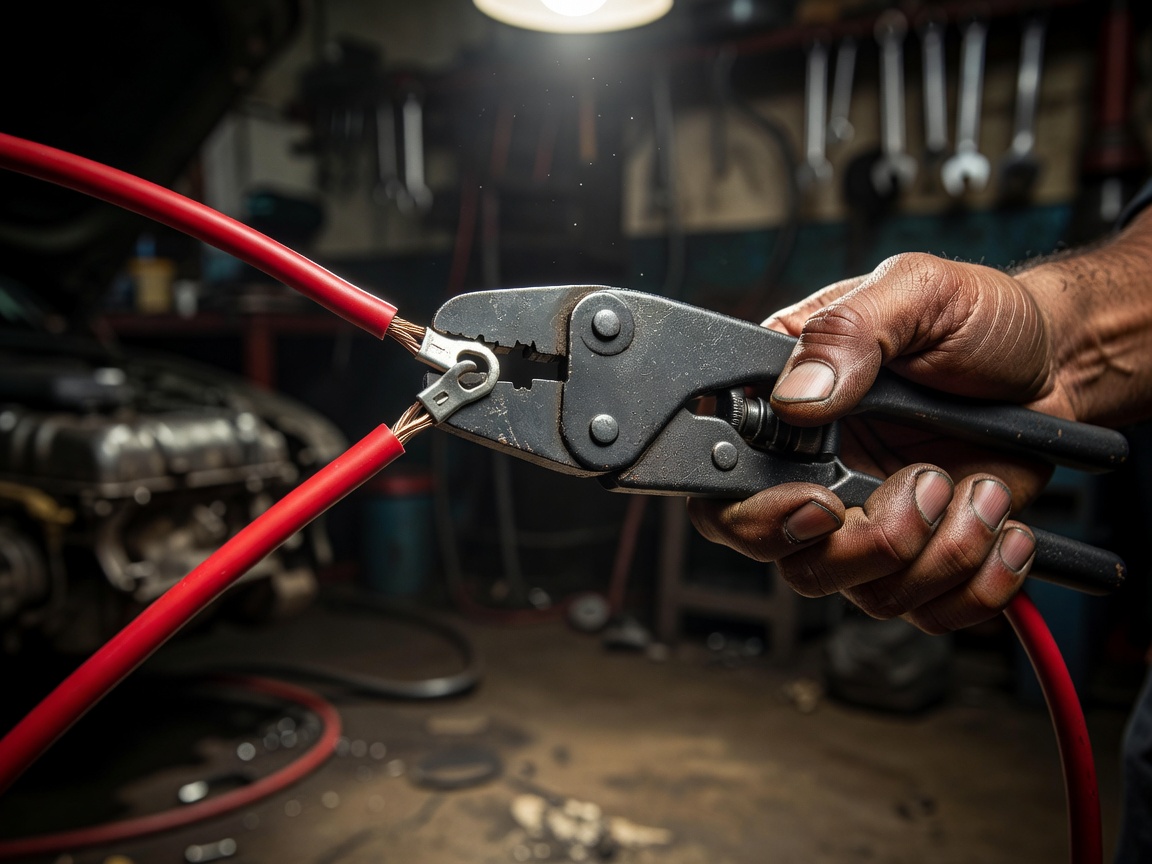
If you must use pre-insulated butt connectors, invest in a proper ratcheting crimp tool. Cheap pliers-style crimpers flatten the terminal rather than folding it into the wire strands, guaranteeing a failure down the road.
Upgrading to Alternators and Relays
Many classic vehicles pre-dating the late 1960s utilized DC generators rather than AC alternators. Generators produce very little output at idle, leading to dim headlights and draining batteries in stop-and-go traffic. Converting to a modern internally regulated alternator is a critical drivability upgrade.
| Component | Original Flaw | Modern Solution |
|---|---|---|
| Headlights | Power routed directly through dashboard switch, causing voltage drop and switch melting. | Install relays. The switch triggers a low-amp relay, sending direct battery power to bulbs. |
| Electric Fans | Wired directly to a toggle switch, prone to forgetting and overheating. | Thermostatic relay kit mounted in the radiator or intake manifold for automatic operation. |
Routing and Protection
A properly wired car should look clean and deliberate. Route wires away from high-heat sources like exhaust headers and sharp metal edges. Protect bundles utilizing braided split loom or Tesa fabric tape (historically accurate for many European classics). Always use rubber grommets when passing wires through the firewall to prevent chafing and eventual shorts.
Electrical work requires patience. Approach the vehicle one circuit at a time—ignition, charging, lighting, instrumentation—and the impenetrable web of wires will quickly make logical sense.