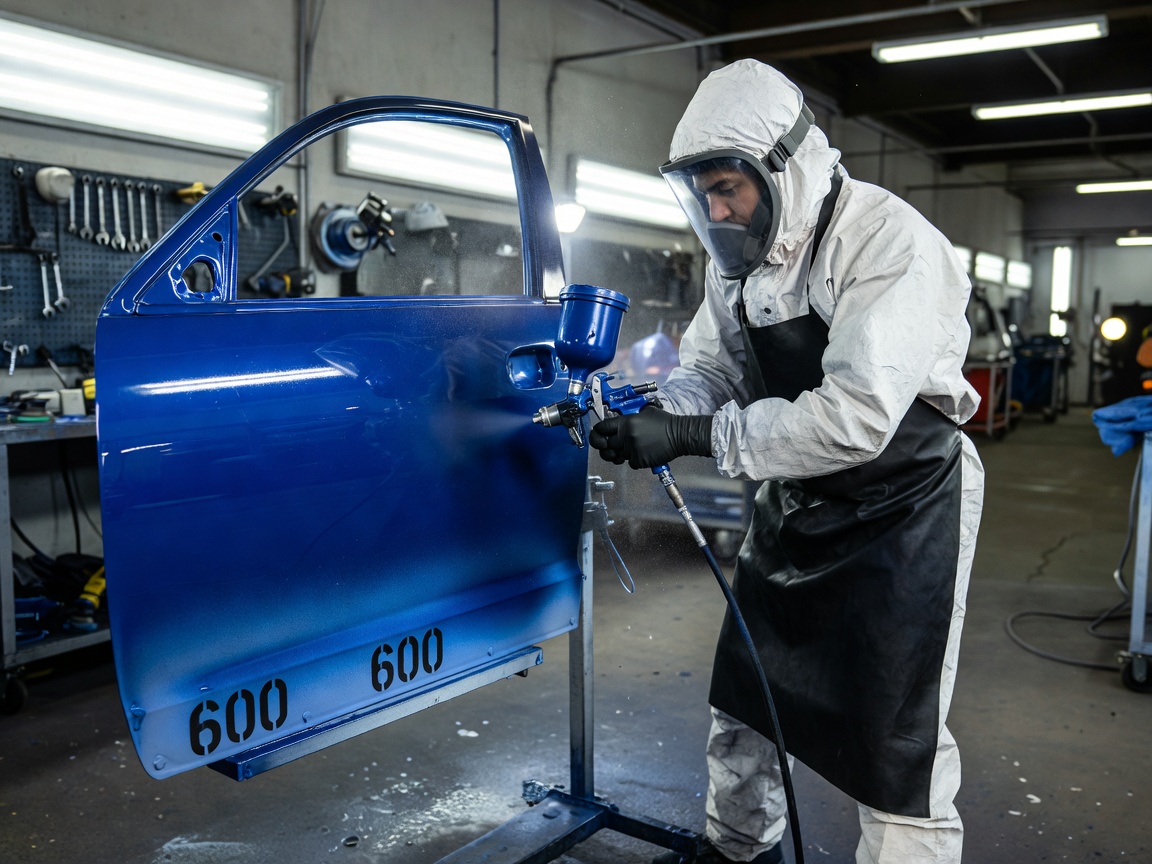
A show-quality paint job is the most visually striking element of a classic car restoration. However, spraying the color is merely the victory lap. The grueling, dusty, and tedious work of body preparation makes up 90% of the effort. If the surface is wavy, pitted, or improperly sealed, the most expensive paint in the world will only serve to highlight those flaws.
Stripping to Bare Metal
Decades of old paint, cracking bondo, and questionable repairs must be removed to establish a baseline. Chemical strippers are highly effective but incredibly messy and toxic. Media blasting (using crushed glass or walnut shells) is efficient but carries the risk of warping large flat panels if too much pressure or heat is applied. Dual-action (DA) sanding is the safest method, albeit the most time-consuming.
Once bare metal is exposed, it must be protected immediately. Flash rust can form in mere hours in humid environments. Applying a high-quality two-part (2K) epoxy primer seals the metal, providing a waterproof barrier and an excellent foundation for subsequent layers of body filler and high-build primers.
The Art of Block Sanding
After minor dents are pulled or hammered out, body filler is applied to smooth over imperfections. Modern fillers are vastly superior to the products of the past, but they must still be used sparingly (no more than 1/8 to 1/4 inch thick).
- Guide Coat: A contrasting aerosol powder or light paint sprayed over the primer. As you sand, the guide coat remains in low spots and sands off quickly on high spots, revealing the panel's topography.
- Cross-Hatching: Block sanding must be done in an "X" pattern, at 45-degree angles to the panel line. Sanding in a single straight line creates trenches and waves.
- Long Blocks: For large panels like doors, hoods, and roofs, use the longest sanding block possible to ensure true flatness.
Choosing the Paint System
Classic car restorers generally choose between two primary paint systems: Single-Stage and Two-Stage (Basecoat/Clearcoat).
| Paint System | Characteristics | Best For |
|---|---|---|
| Single-Stage (Urethane/Acrylic) | Color and gloss are mixed into one sprayable product. Softer look. | Solid, non-metallic colors. Factory-accurate restorations for 50s-70s cars. |
| Two-Stage (Base/Clear) | Color layer sprayed first (matte), followed by high-gloss clear coat. | Metallic paints, custom colors, deep "wet" looks, high UV resistance. |
The Spray Environment
Spraying automotive paint requires a controlled environment. A professional downdraft spray booth is ideal, pulling overspray downward and filtering out dust. For DIY restorers, a temporary booth constructed of plastic sheeting and filtered exhaust fans can suffice, provided immense attention is paid to cleanliness. Wetting the floor prior to spraying keeps dust from kicking up.
Safety is paramount. Modern urethane paints contain isocyanates—highly toxic compounds that can cause severe respiratory damage. A supplied-air respirator is the only completely safe option, though high-quality organic vapor respirators are heavily utilized by home hobbyists. Never spray 2K products in an unventilated area or without skin protection.
Cut and Buff
After the final clear coat has cured, the surface will inevitably have minor dust nibs and a slight texture known as "orange peel." The ultimate glass-like finish is achieved through the "cut and buff" process. This involves wet-sanding the clear coat progressively from 1000-grit up to 3000-grit sandpaper, flattening the surface entirely. Finally, rotary polishers paired with graduating compounds restore the deep, mirror-like gloss.
Mastering bodywork and paint requires a critical eye and an extreme tolerance for repetition, but delivering a laser-straight reflection is worth every hour of sanding.