Rust is the great equalizer of classic cars. Regardless of a vehicle's pedigree, unchecked moisture and unprotected steel inevitably result in oxidation. In auto restoration, addressing rust is not an option—it is mandatory. Slapping fiberglass filler over rusted quarter panels is a cardinal sin that will bubble through expensive paint within a year. True restoration demands metal replacement.
Assessing the Damage
Before cutting begins, a thorough assessment is required. Surface rust is merely cosmetic and can often be removed with an abrasive wheel or sandblasting. However, when rust penetrates the metal, creating pits or holes, the structural integrity of the steel is compromised. The most common areas for terminal rust include floor pans, rocker panels, lower quarters, and window channels—areas where water naturally collects.
Use an awl or a screwdriver to probe suspicious areas. If the tool pushes through the metal, replacement is necessary. It is always better to uncover the full extent of the rot before ordering patch panels or sheet metal.
Cutting and Preparation
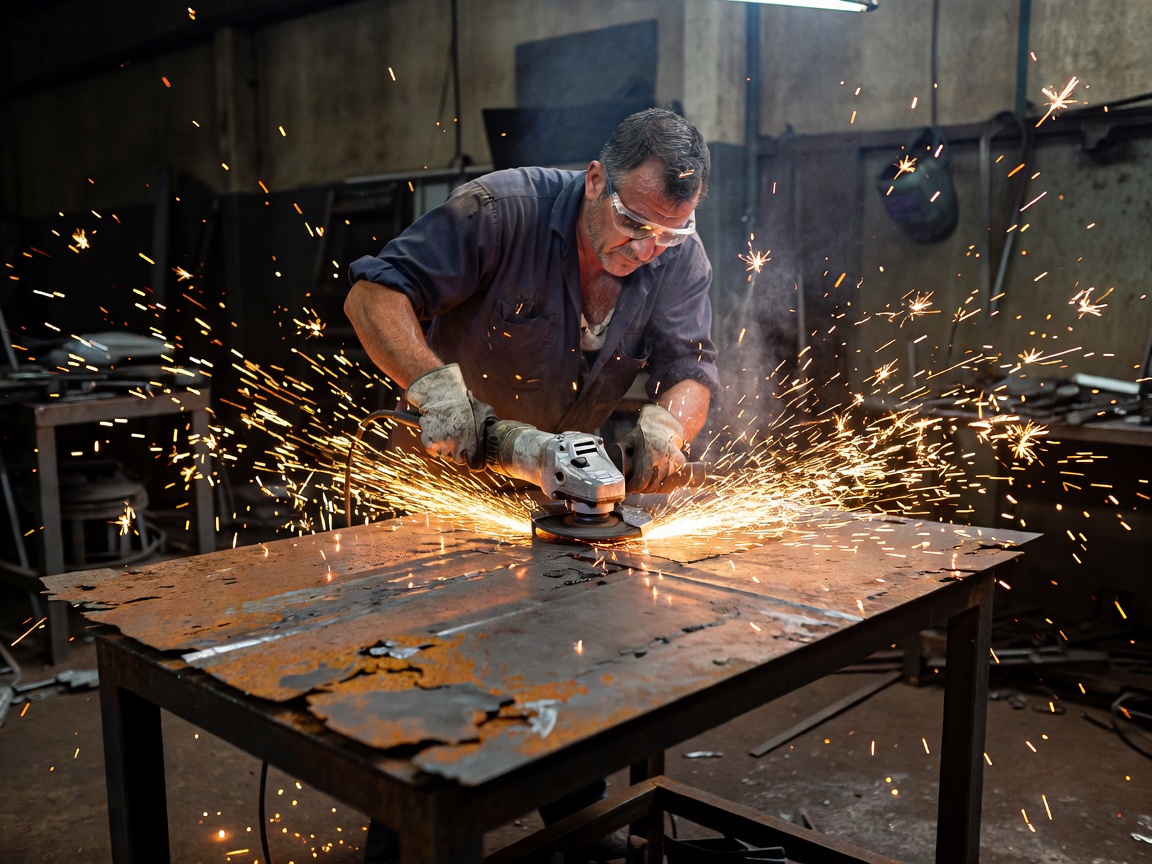
Once the rusted area is mapped out, the diseased metal must be excised. A pneumatic cutoff wheel or an angle grinder with a thin slicing disc is the tool of choice. You must cut past the rusted area into clean, solid steel. Welding new metal to thin, rusty edges is impossible and will only result in blowout holes and frustration.
- Squaring the Cut: Make straight, square cuts rather than rounded or jagged holes. It is significantly easier to fabricate a rectangular patch panel than an odd-shaped polygon.
- Grinding the Edges: The edges of the host metal must be ground perfectly clean. Any remaining paint, primer, or rust converter will contaminate the weld pool.
Patch Panels vs. Custom Fabrication
For popular classic models, full replacement panels (like complete floor pans or fenders) are manufactured by aftermarket companies. Whenever possible, using a pre-stamped replacement panel saves hundreds of hours of fabrication time. However, for rare vehicles or complex small patches, custom fabrication is required.
Fabrication requires forming flat 18 or 20-gauge cold-rolled steel into complex curves. Tools like an English wheel, planishing hammer, and shrinker/stretcher allow fabricators to manipulate the metal. For the hobbyist, a solid workbench, a set of body hammers, and sandbags can yield impressive results with enough patience.
Welding Techniques
MIG (Metal Inert Gas) welding is the standard for most bodywork. It is relatively easy to learn and excellent for sheet metal. TIG (Tungsten Inert Gas) welding offers more control and a softer weld that is easier to hammer and planish, but it requires a much higher skill level and tighter panel fitment.
| Weld Type | Best Use Case | Pros & Cons |
|---|---|---|
| Spot Weld | Replacing factory pinch welds (e.g., rockers, core supports). | Quick, mimics factory look. Requires overlapping metal. |
| Butt Weld | Patch panels on exterior body surfaces. | Prevents moisture traps, seamless finish. Prone to warping if heat isn't managed. |
| Lap Weld | Floor pans or structural unseen areas. | Easier fitment, very strong. Creates a seam that must be sealed to prevent trapped moisture. |
Heat Management and Warpage
The thin sheet metal used in car bodies warps easily when subjected to the concentrated heat of welding. When butt-welding a patch panel on a quarter panel, never run a continuous bead. Instead, use a series of spaced tack welds, jumping around the panel to distribute the heat. Use compressed air to cool the welds between tacks. Slowly, the tacks will bridge together to form a solid line. Grind the welds flush carefully, avoiding generating too much heat with the grinder.
Rust repair is a slow, methodical process that separates quality restorations from quick flips. Doing it right ensures the vehicle remains solid for generations to come.